
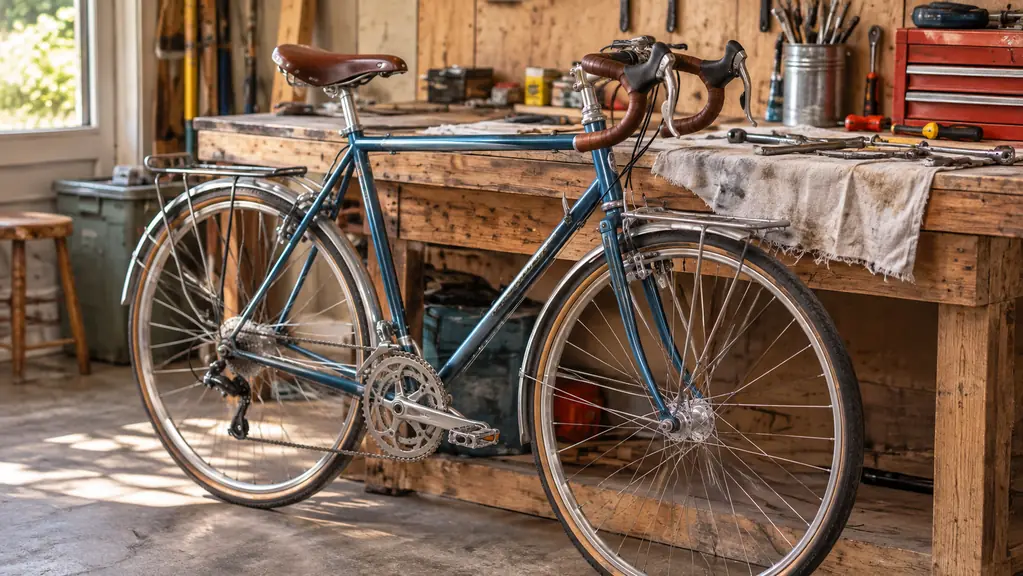
I bought the Brooks England Cambium C17 Carved two years ago, in the first week of March, at the same time I replaced a few other things I had been putting off. The saddle that came on my steel touring bike was fine for twenty miles and miserable past forty. What I did not expect was how much of that misery had nothing to do with the saddle. It had to do with where the saddle was sitting.
Height and tilt do more for a long day than any amount of padding. I spent my first week with the Cambium C17 doing nothing but moving it a few millimeters at a time and riding the same nine mile loop north out of Prescott. What follows is the whole procedure in the order I did it, mistakes included, because I made most of them.
The saddle I set up once and stopped thinking about
Two years and roughly 8,000 miles on the Brooks England Cambium C17 Carved. No break-in period, no cover to treat, nothing to tension. If your current saddle has you fidgeting by mile thirty, this is the one I would start with.
Amazon Check Today's Price on Amazon →Before You Touch the Clamp
Do this first: measure from the center of the bottom bracket to the top of the saddle, following the line of the seat tube, and write the number on the garage wall in pencil. Take a photo of the saddle from the side while you are at it. I skipped both the first time and spent a whole evening trying to get back to where I started.
You need very little to do this. A 5 mm hex key, which is one of the bits on the Crankbrothers M19 I keep in the seat bag. A tape measure. A length of string with a nut tied to the end if you want to check knee over pedal. Something with a straight edge to check tilt, and I use the blade of a carpenter's square. That is the entire list. You do not need a fitting session to get close, and you can get close in an afternoon.
Set the bike up where you can sit on it and hold something solid. A doorway works. So does a stand if you have one, but you will still want to sit on the bike with your hands on the bars, because the way you sit on a bike in a stand is not quite the way you sit on it on the road.
Step 1: Set the Height With Your Heel
Start with height and leave everything else alone. Height is the change you will feel first and the one that causes the most trouble when it is wrong.
The starting point I use is the heel method. Put the bike in a doorway or on a stand so it is upright. Sit on it as you normally ride, crank arm at the bottom of the stroke, straight down. Put your heel on the pedal. Your leg should be straight, or very close to it, without your hip dropping or rocking to reach. If your knee still has a bend in it with the heel on the pedal, the saddle is too low. If you have to rock your hips to get your heel down, it is too high.
Too high is the more common mistake and the one that hurts more. A saddle set a half inch high makes you rock your pelvis at the bottom of every stroke, and after fifty miles your lower back is the thing that complains. I set mine high at first because it looked more efficient in the garage. It was not more efficient on the road.
Step 2: Take the Height Out on a Real Ride
The heel method gets you in the neighborhood. A ride gets you home.
Ride twenty or thirty miles, not around the block. What you are listening for is where you sit and what hurts. If you keep sliding forward to get your weight over the pedals, the saddle is probably too far back, or too high. If the back of your knee is sore, it is usually too high. If the front of your knee aches, it is usually too low or too far forward. My left knee has complained on steep climbs since I was sixty, so I let it vote on saddle height. It is a more honest judge than my eye.
Change one thing at a time, and by no more than a quarter inch. If you move the height and the tilt and the fore and aft all in one evening, you will not know which one helped and which one made your hands go numb, and you will be back at the bench starting over.
Step 3: Set the Fore and Aft
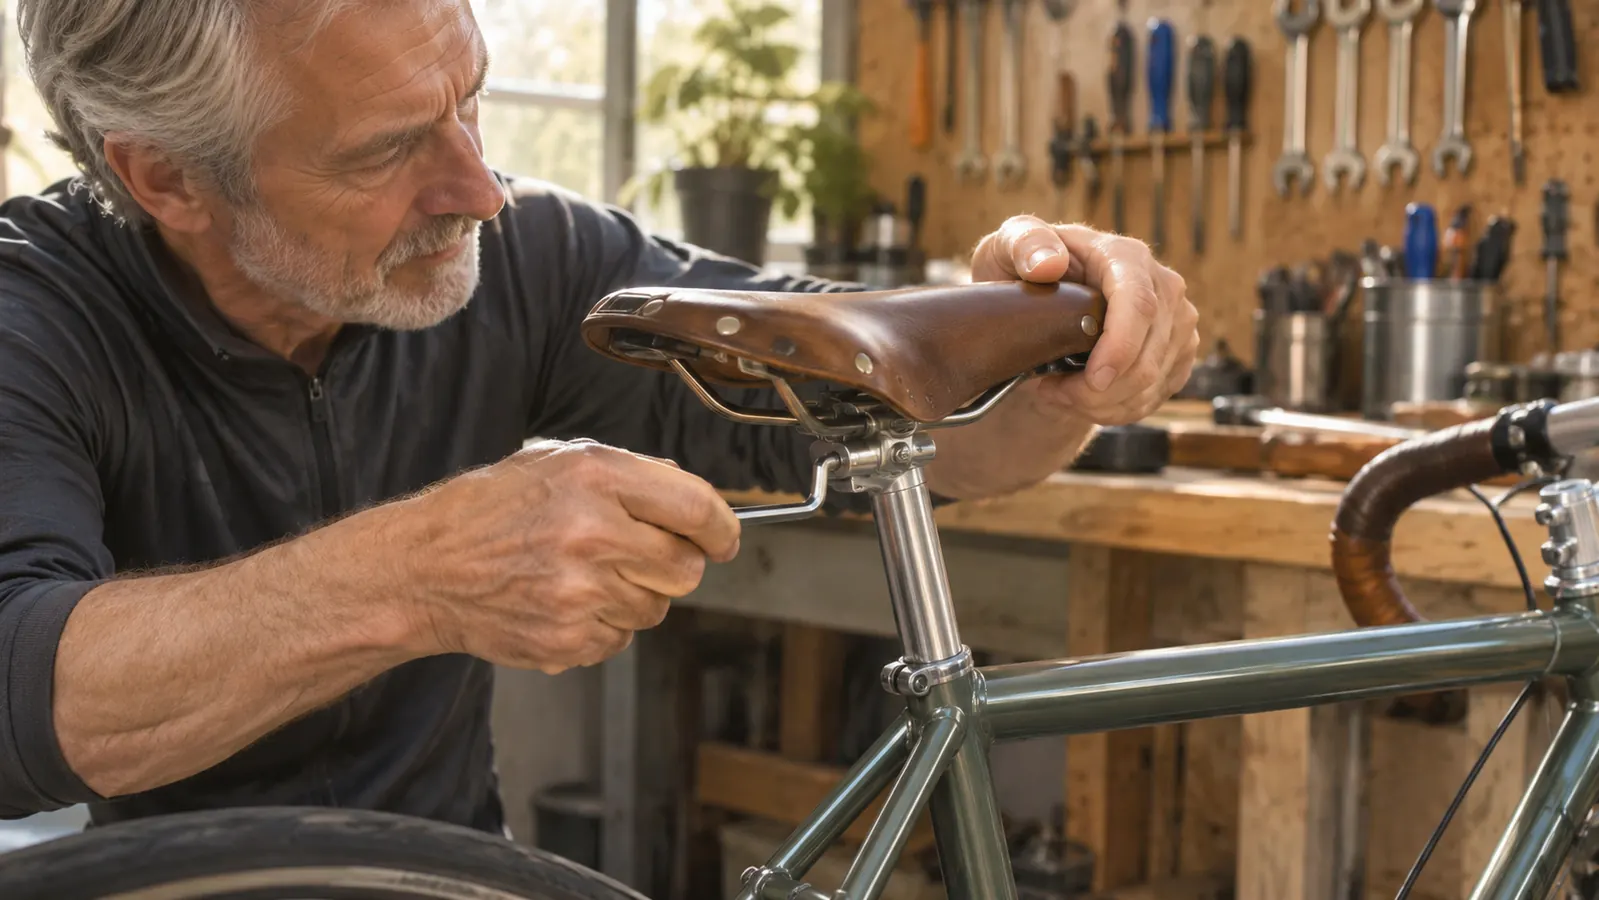
Loosen the clamp just enough that you can tap the saddle forward or back with the heel of your hand. Mark the rails with a pencil first, so you can see what you have done.
The old check is knee over pedal. Sit on the bike with the cranks level, both feet on the pedals, and drop a string with a weight on the end from the bony bump just below your kneecap on the forward leg. See where it falls against the pedal spindle. Roughly over the spindle is a reasonable starting place. It is a starting place, not a law. Riders with long thighs and riders with short thighs do not land in the same spot, and neither do riders with a stiff lower back. Mine sits slightly behind the spindle, which took me two tries to accept.
Set the saddle somewhere near the middle of the travel available on your clamp so that you have adjustment left in both directions. Then ride the same loop again. If you feel like you are reaching for the pedals, or like your arms are doing work they should not be doing, move it a quarter inch and go again.
One note on this saddle in particular. The Cambium C17 is 6.5 inches wide across the top and 11.14 inches long, and it is rated to 100 kg. It is not a narrow racing saddle, so the position that works for you is the one where the wider part of the top sits under your sit bones and not under the back of your thighs. If the saddle feels like it is crowding your legs, it is too far forward.

Step 4: Set the Tilt, Starting Level
Start level. Put a straight edge on the top of the saddle, front to back, and set it horizontal. Nose down a degree or two is a habit a lot of riders pick up from racing, and for a rider who is out for sixty miles it is a bad habit. It tips your weight onto your hands, and by the end of the day your wrists and neck are paying for it. Nose up will press where you do not want pressure.
The Cambium top is not perfectly flat to begin with, so you are setting the general line of it, not a machined surface. It is a vulcanized natural rubber top under an organic cotton canvas cover, with a thin structural textile layer and a waterproof nylon cover over that. It flexes. On the Carved version there is a cutout down the center, and that cutout is the reason I can ride this saddle at all. It takes the pressure off the middle and leaves you sitting on the two sides. Set the tilt where you feel those two sides and nothing in between.
Here is the part people do not believe until they ride it. The top is firm. It does not squish, it does not soften over a few weeks, and it does not break in the way a leather saddle does. Brooks England builds it that way on purpose, and there is no break-in period to wait out. It is comfortable because it gives and follows you, not because it is soft. If you expect a pillow you will be disappointed on the first ride, and you will be tempted to nose the saddle down to get relief. Do not. That is a height problem wearing a tilt costume.
Step 5: Tighten the Clamp and Repeat the Same Loop
Tighten the clamp firmly and evenly. Use a torque wrench if you have one and the spec for your seatpost. If you do not, tighten until the saddle will not twist when you push hard on the nose with one hand, then stop. Aluminum rails and steel bolts both dislike being over-tightened by feel at the end of a long afternoon.
Then go ride the same nine miles. Same road, same direction, same time of day if you can manage it. I rode mine four times in a week and made a note at the bench each time. Sore hands. Sore back. Sore knee. Sliding forward. Numbness. Five words on a scrap of paper tell you more than a month of trying to remember how last Tuesday felt.
It took me about a week of small changes before I stopped thinking about the saddle, and I have not touched it since. Two years and roughly 8,000 miles. The top has not sagged, there is nothing to tension, and when it gets dirty I wipe it down with a wet rag. The whole maintenance routine is that sentence.
One thing to be clear about. If you get numbness that does not go away after a couple of rides, or a sore that does not clear up, that is a conversation with your doctor, not a quarter inch of tilt. Position fixes a lot of things. It does not fix everything.
Two years and roughly 8,000 miles on the Brooks England Cambium C17 Carved. The top has not sagged, there is nothing to tension, and cleaning it takes one wet rag.
What Else Helps
A saddle is one part of a system, and mine only worked once the rest of the system was sorted. The biggest change was bib shorts. I had been riding cheap padded shorts with a waistband. I bought two pairs of Przewalski bibs in size Large and rotate them, cold wash, hang to dry. The pad is thick, and on a short ride it feels like too much, but on a sixty mile day it does more for me than any saddle swap ever did.
Tire pressure matters more than people think. I run about 60 psi in front and 65 in back on 32 mm tires, and I treat that as my setting and not a rule for anybody else. I check it before every ride with a floor pump that has a working gauge, because for years I was squeezing the tire with my thumb and guessing. That is the Topeak JoeBlow Sport III in my garage now, with the analog gauge on the barrel. A few psi either way changes how much buzz comes up through the saddle, and a hard rear tire will make a good saddle feel like a bad one.
The other thing that helped was knowing where I was going. A wrong turn on the way home at the end of a long day adds miles to a sore body, and I did that once, which was enough. I plan a route the night before and send it to the Garmin Edge 540 on the bars. That is not a saddle question, but it is the difference between finishing the ride I planned and finishing a longer one I did not.
I will say the honest thing about the Cambium C17 here. It weighs about 450 grams, which is heavy next to a race saddle, and the firm top is not for everyone. A rider who wants a soft, deep cushion will not like it, and a rider chasing grams on a carbon bike will not either. If that is you, no adjustment above will change your mind, and that is fine.
If you want the short version of all this: set the height with your heel, ride thirty miles, set the fore and aft, set the tilt level, then leave it alone for a week. Most riders I know, including me, change three things at once, feel worse, and blame the saddle.
Set it once, then go ride
Two year manufacturer warranty, rated to 100 kg, 6.5 inches wide, and nothing to maintain. The Brooks England Cambium C17 Carved is the saddle that stopped me thinking about saddles.
Amazon Check Today's Price on Amazon →