
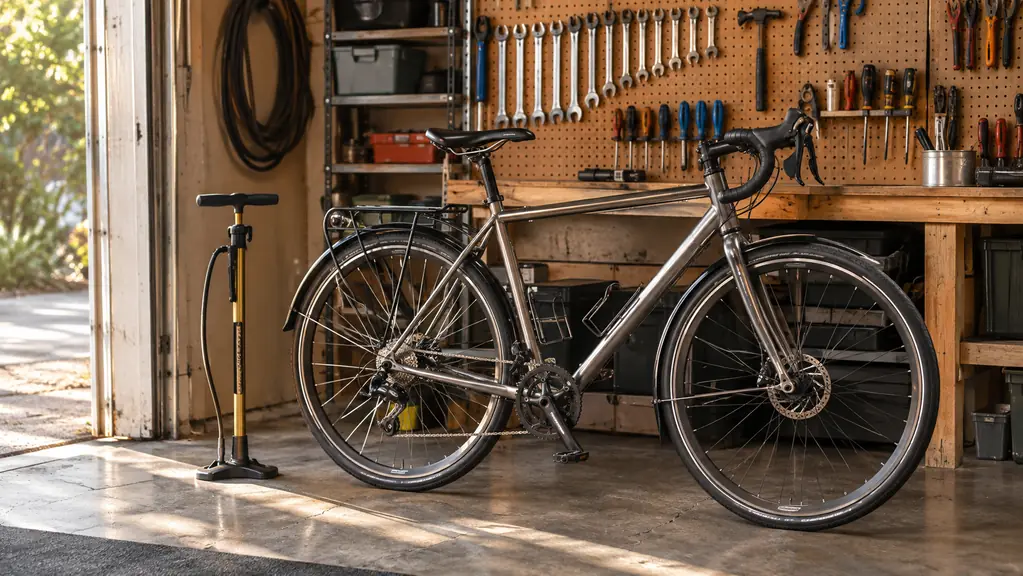
Most of the tire trouble I have had on a long day did not come from a bad tire. It came from a number I guessed at. For years I set pressure by squeezing the sidewall with my thumb, and on a cool morning that thumb told me the tire was fine when it was five pounds low. The bike felt slow, I blamed my legs, and I stopped on the shoulder to add air with a mini pump that took two hundred strokes to do what a floor pump does in six. When the gauge on my old garage pump quit for good, I bought the Topeak JoeBlow Sport III in the first week of March, about two years ago. I top up before every ride now. Here is the routine.
What follows is not a racing setup. I am 67, I ride a steel touring bike with 32 mm tires and tubes, and a long day for me is 50 to 70 miles around Prescott and Chino Valley twice a week, with real climbing in it. I run about 60 psi in the front and 65 in the rear. Those are my numbers, not a rule for you. The point of this article is how I arrived at them, how I keep them, and how you can find yours with the same pump and a notebook. Nothing here is complicated. It just has to be done the same way twice.
The gauge that ended my thumb-squeeze era
I keep the Topeak JoeBlow Sport III by the garage bench and check both tires before every ride. A 3 inch analog gauge mounted mid-barrel, a TwinHead DX5 that takes Presta and Schrader, and 160 psi of headroom.
Amazon Check Today's Price on Amazon →Step 1: Find Your Number Before You Touch the Pump
Start with the tire, not with the pump. A 32 mm tire with a tube at 60 psi front and 65 rear is where I landed after two years of fiddling, and I treat those as my numbers, not as a rule for anyone else. A rider at 220 pounds on the same tire wants more air. A rider on 28 mm wants more again. The number molded into the sidewall is a ceiling for the tire, not a recommendation for your Saturday ride, and treating it as a recommendation is how people end up on rock hard tires that rattle their fillings loose.
I found mine the boring way and it worked. I picked a loop I ride every week, 34 miles with one long climb, and rode it four weeks running at 55 psi, then 60, then 65, then 70, writing down how the bike felt at the end of each. At 55 the rear tire squirmed in the corners and I felt the rim once on a sharp edged patch of chip seal. At 70 the ride turned harsh and my hands were sore by mile 40. Sixty and 65 was the band where nothing hurt and nothing felt vague. My left knee noticed the difference too, because a harsh tire rattles up through the frame and the knee feels every bit of it on a climb.
Four weeks of attention is the whole cost. It beats copying a chart, because a chart assumes a road surface, a rider weight and a tire casing, and Prescott has chip seal, broken shoulders and 5,400 feet of altitude, none of which is on the chart. Write the four pressures on a sticky note, tape it to the bench, and go ride the same loop until one of them is clearly better than the others.
Step 2: Read the Gauge Before You Connect Anything
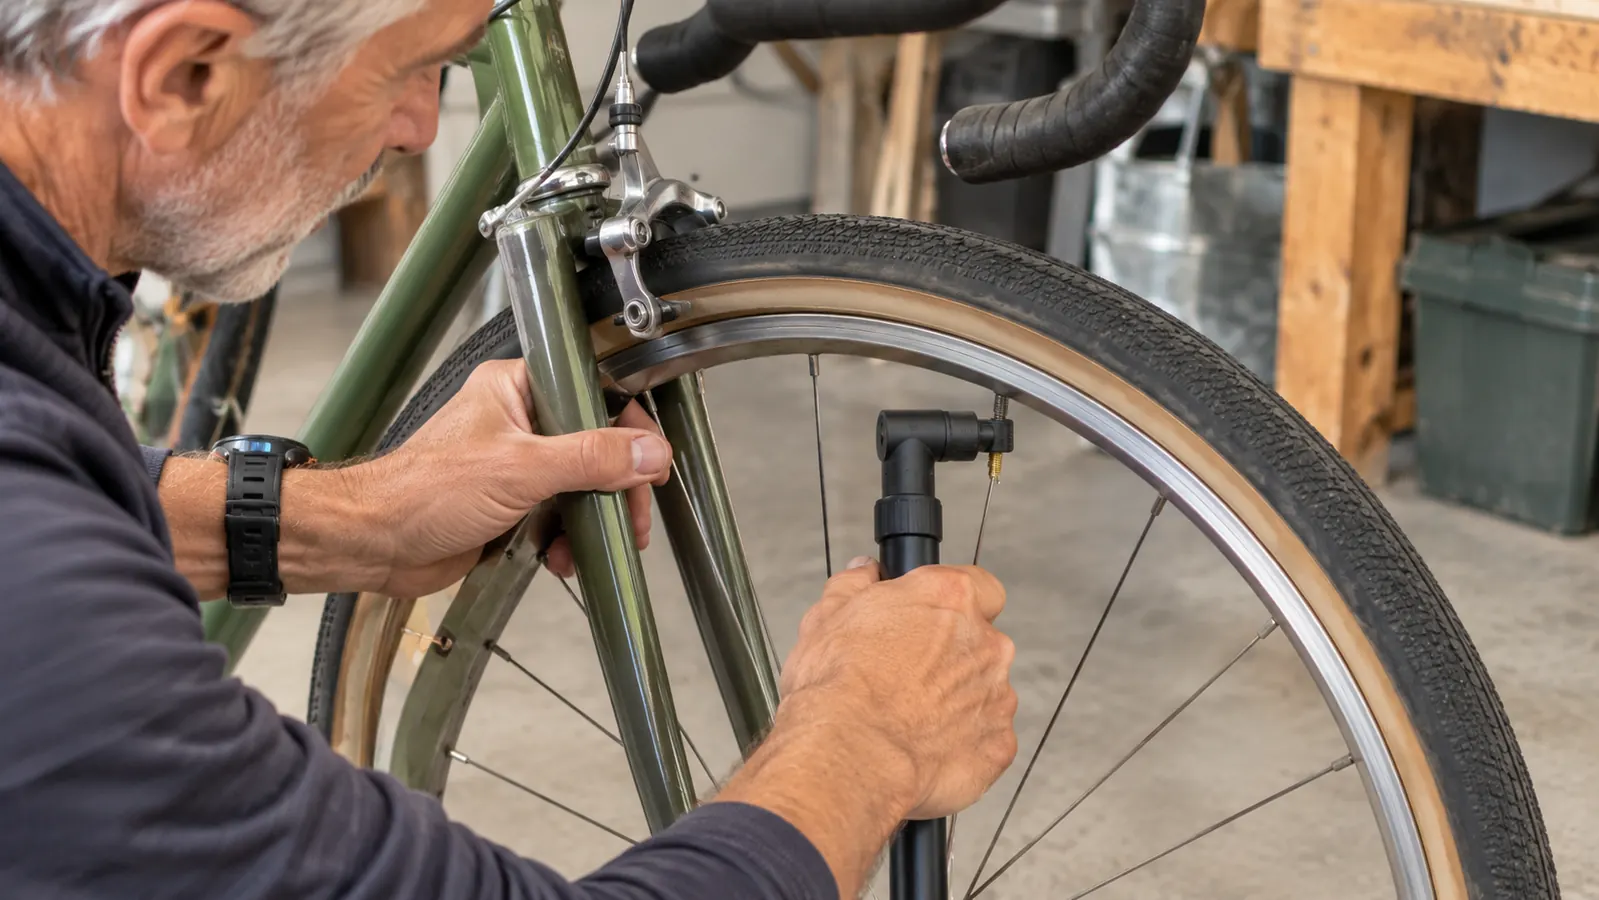
The gauge on this Topeak sits mid-barrel, which puts it at eye level when the pump is standing, and the 3 inch dial is big enough to read without hunting for my glasses. I look at the needle before I connect the hose to a valve. A pump that does not come back to zero with the hose unloaded is telling you something about the gauge, and you should believe it. Mine returns to zero and has since the first week.
Then I read the tire itself. I seat the head, pump nothing, and look at what the needle says. On a Tuesday after a Sunday ride the rear is usually down three to five pounds. Knowing it started at 61 instead of guessing it started at 65 is the difference between a consistent setup and a number that drifts all season. Guessing the starting point is how a 32 mm tire ends up at 80 psi and the bike starts skipping sideways on washboard.
The one knock I have is at the bottom of the scale. Below about 30 psi the needle is not fine enough to split hairs, so if you keep a fat bike or a mountain bike in the same garage, the low end will frustrate you. For road pressures in the 55 to 90 psi range it reads clearly and repeats, which is all I need from it. I have not found a reason to want a digital gauge for the pressures I actually ride.
Step 3: Inflate in Short Bursts and Stop at the Number
Seat the head squarely on the valve and hold it there with one hand while the other works the handle. The TwinHead DX5 is a hammer style head that takes Presta, Schrader and Dunlop, and my touring bike runs Presta. Pushing it on crooked is the one mistake that will cost you a tube on a cold morning, so take the extra second to line it up square before you lean on the handle.
Then pump in short bursts and stop to look. I go ten strokes, check, ten strokes, check. The barrel moves a useful volume with every stroke, so it is easy to sail past your number, and letting air back out to return to 60 is pure waste. The extra-long hose turns a full 360 degrees, which means I can stand on either side of the bike or behind the bars without dragging the pump across the garage floor or kinking anything.
The padded handle earns its keep around the fiftieth stroke. My hands are the first thing to complain on a long day, and a skinny handle that digs into the palm is a small misery that adds up over a season. Three strokes to top up a tire that is a few pounds low is nothing at all. Thirty strokes on a soft tire with a bare metal handle is a different job, and it is the job I did for years before I stopped guessing.
Step 4: Adjust for the Day, Not for the Chart
Air pressure moves with temperature. A tire set at 65 psi in a 45 degree garage at six in the morning will read higher by ten when the sun hits the driveway, and a tire set at noon will read low the next dawn. Roughly a pound per ten degrees is the working rule I use. That is why I set pressure at the temperature I expect to start riding in, not at whatever the garage happens to be the afternoon before.
Load matters almost as much. With a full seat bag, two bottles and a jacket stuffed in a pocket, the rear carries more than it does on a short loop, and the rear is where I add the extra five pounds. Surface matters too. Fresh chip seal is slower and sharper than smooth asphalt, and on a road I know is rough I run a couple of pounds softer in the front and accept the small loss in speed for the sake of my hands.
None of this is precise to the pound and it does not need to be. What it needs to be is the same on Tuesday as it was on Sunday, so that when the bike feels wrong you know it is the bike and not a number you changed without noticing.
At 70 psi my hands were sore by mile 40. At 55 the rear tire squirmed. Sixty and 65 is the band where nothing hurt and nothing felt vague.
Step 5: Write It Down and Check Again in the Morning
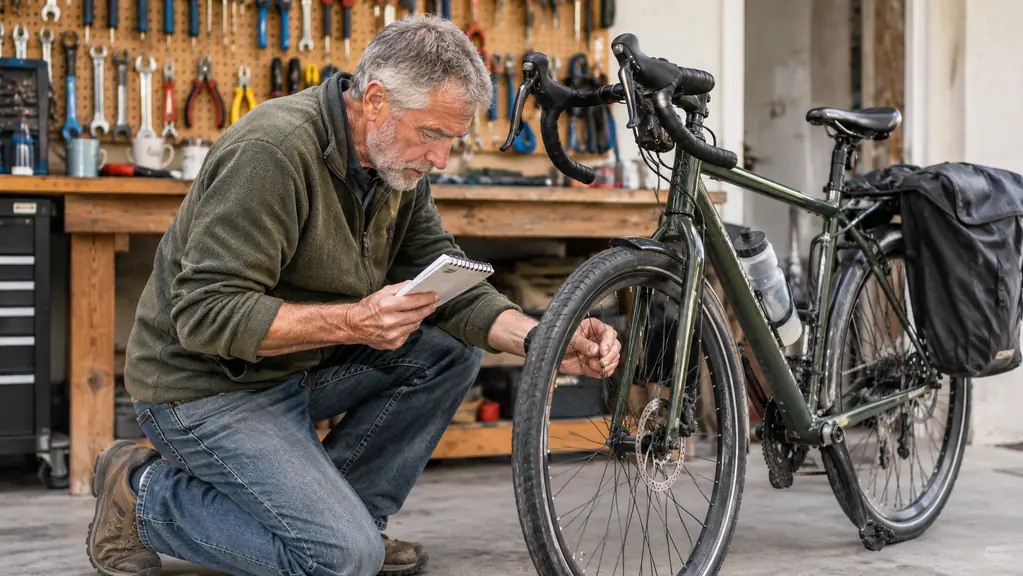
I keep a small notebook on the bench and write one line per ride: date, front pressure, rear pressure, miles, and one word about how the hands and the lower back felt at the end. Two years of those lines is the most useful maintenance record I own. It told me that my back complains on rides over 60 miles when the rear sits above 68 psi, and it told me that the front tire loses about a pound a week sitting in a cold garage.
The last step happens the morning after. Before I roll the bike out, I check both tires with the gauge, top up if needed, and write the number down. Two strokes on a floor pump takes fifteen seconds. Doing the same work with a mini pump on the shoulder takes five minutes and costs you your temper in front of passing traffic.
If you ride twice a week, the notebook fills slowly and that is fine. The value is not in the record itself. It is in catching the week where your rear pressure crept up on its own and your hands hurt on a ride that should have been easy.
What Else Helps
Pressure is one part of a long day going well. The other parts are what I carry and what I check at the bench. In the seat bag I keep one spare tube, a patch kit, two plastic tire levers and the Crankbrothers M19. The M19 has no tire levers of its own, which is why the plastic ones live in the bag beside it. It does have a chain tool, and I have used that exactly once on the road in two years.
Ed, who is 70 and rides many of the long days with me, keeps a Lezyne Steel Floor Drive in his garage. It is a good pump and I have used it on his bench. The difference I notice is the gauge, not the pumping. Mine is easier for me to read at arm's length, and at our age that is not a small thing. I have never owned the Lezyne, so I will not pretend to a long history with it.
Hands get their own attention. Gloves with a padded palm, grips that are not worn smooth, and a pressure that is not five pounds too high do more for sore hands than anything else I have tried. If numbness in your hands or fingers sticks around after a couple of rides at lower pressure and better gloves, see your doctor if it does not clear up. That is not a thing to work around with more padding.
One more piece of housekeeping: the pump stays in the garage. It weighs 3.7 pounds and stands 27 inches tall, and carrying it anywhere is not the plan. The mini pump stays in the seat bag for the flat you did not plan for. Those are two different jobs and mixing them up is how people end up hating both pumps.
The Topeak JoeBlow Sport III has sat by my bench for about two years and roughly 8,000 miles. It has needed nothing but a wipe down, and the gauge still returns to zero. The base is light enough that a hard yank on the hose will tip it, so I hold the handle and not the hose when I move it. That is the whole list of complaints. For a rider who wants to know what is actually in the tires before a 60 mile day, that is enough.
Know the number before you roll out
Two strokes at the bench beats five minutes on the shoulder. The JoeBlow Sport III has lived by my garage bench for two years and about 8,000 miles.
Amazon Check Today's Price on Amazon →